


I would say that over the years the majority of my brides have been DIY brides. Some all out. Some just a little. Anytime they mention to me their DIY projects and ideas somehow my bride Ronnie comes up and we end up going through her wedding photos. Ronnie and Nick’s wedding was gorgeous. And even though it was almost 3 years ago… it’s still one of my all-time favorites. One of the best DIY weddings I’ve ever seen. This week DIY came up again with one of this years brides and once again I brought up Ronnie. Then it occurred to me why not ask Ronnie to give some advice. So I did. And she put together 6 great tips on planning a DIY wedding! So I’ll stop talking and let the master share!!!

6 Tips from a DIY Bride
Two years ago I married my best friend, and I can say it was one of the best days of my life. I put my heart and soul into that wedding and DIY-ed a big portion of it. I got my inspiration from Pinterest of course, but I think my eye for beautiful weddings came from working at a five-star resort throughout college. My biggest tip? Put your money in the right places. Spending your budget on the right things can make a $25,000 wedding look like a $40,000 wedding. This was the goal at my wedding – and in this post I’ll tell you how I did it.
1. Where to splurge and make a statement
At the very beginning, determine your budget and allocate money for the “splurges” first. Then you’ll know how much you have left for things that don’t make as much of a splash. For example:
- At the ceremony, spend the extra money on either Chiavari or wooden chairs. They cost a bit more, but the low-priced plastic versions cheapen the entire look of the wedding. We also served champagne to guests when they were seated at the ceremony. This didn’t blow the budget, but it made a statement.
- Spend money on candles of all sizes throughout the venue. They really set the mood and make the room feel luxurious and romantic.
- This one won’t cost you a dime, but it will make all the difference in the world – long rows of tables. The symmetry of long rows makes centerpieces look more grand and the candlelight more impressive (versus lots of smaller tables). This didn’t work for my venue, but I would have killed for it!
- You can spend a million dollars on the décor, but if the food is horrible and there aren’t enough bars or bartenders, it will not matter. Don’t invite the whole world, and only invite those most important to you, so you can afford to give them the dining experience they will love.
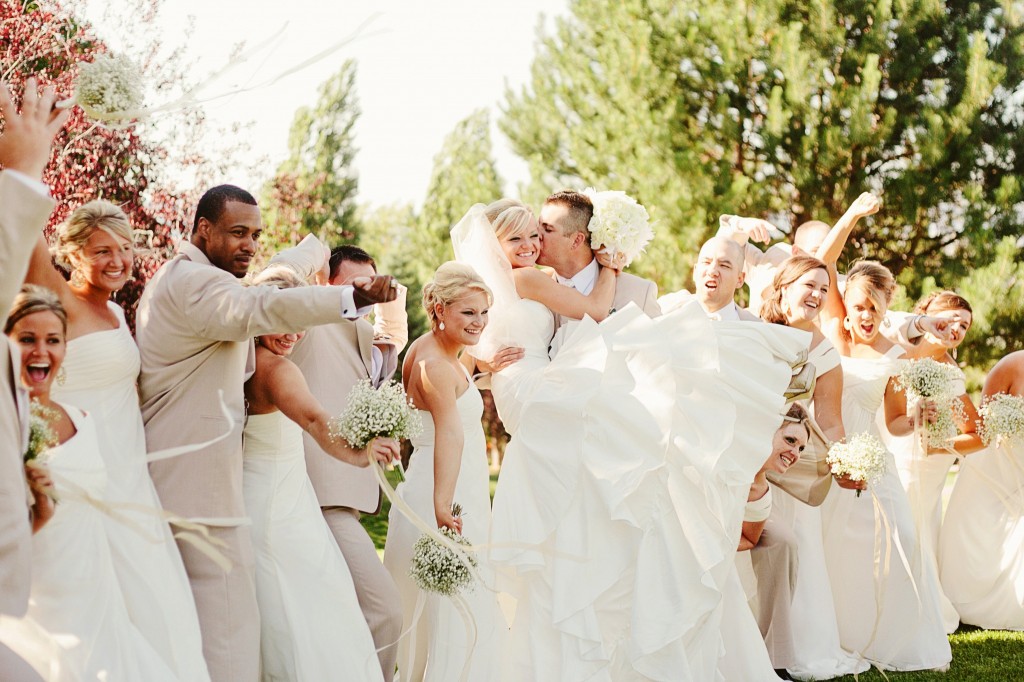
- Finally, the photographer. At the end of day, your wedding is only one day, a day that you saved for, and worked on, for at least a full year of your life. It’s all over in 24 hours and all you have left are your memories and photos. Hiring an amazing photographer was one of the best decisions I made. Our pictures are so amazing – and I have Jackie to thank for that.
2. Where to save
Knowing where to save is just as important as where to splurge. The first place you can save is floral, and the rustic, vintage trend works in your favor. When working with your florist choose high-end flowers that are in season (out of season ones are more expensive), but then tell them you do not want “designed centerpieces.” Instead, tell them you are okay with them putting followers directly in vases of water without floral foam at the bottom. You can do a few designed pieces for the head table or for the top of aisle, but all the tables will look great with 4-5 full, beautiful peonies or hydrangeas in water. Also tell your florist you are not interested in filler flowers, keep it bold and simple, with a single type of flower in each vase. It still looks great, but is half the cost.
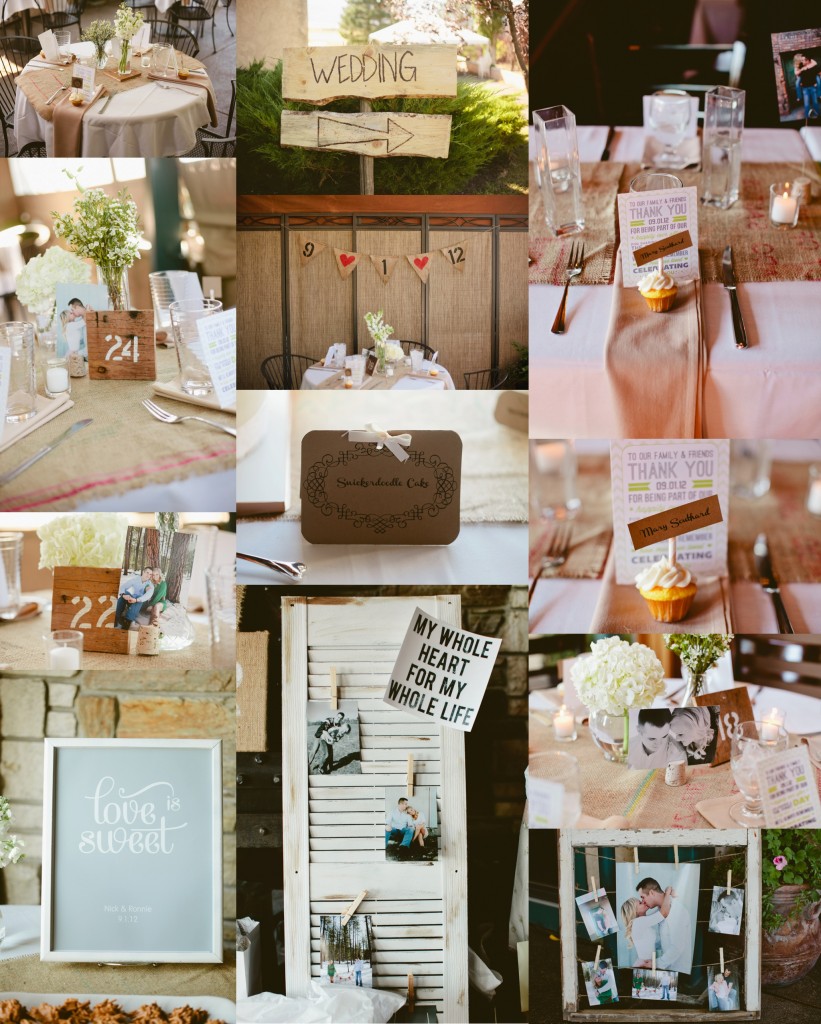
I made my own invites, save the dates and printables in Photoshop. If you or a friend don’t have the knack, there are so many Etsy shops that offer affordable and beautiful options. Buy the downloadable file and then get them professionally printed using Vista Print. Make sure you choose the nicer card stock and the invites will look just a great as if you spent thousands and thousands.
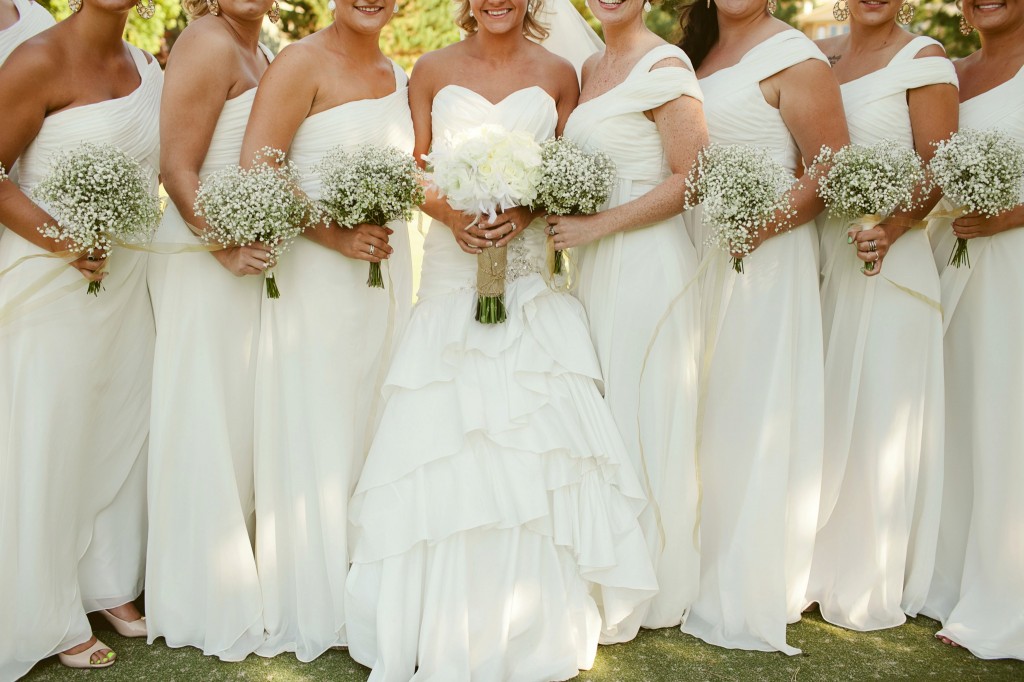
Be unique. We used baby’s breath for my bridesmaid bouquets. We made the guys’ boutonnieres out of golf tees and dried flowers – that saved us a ton. We made our own burlap runners with burlap from a local supply store, I went to a store called Re-Use and bought old windows and frames and repainted them. I got wine crates from the grocery store, stained them and aged them by dragging them on the ground and put flowers on them at the top of the aisle. If you take your time and do it right, it will look great!

 3. Enlist the help of your friends and family
Having my cousin Bobi as my wedding coordinator day-of was a life saver. I didn’t have the budget for one, but I knew I didn’t want the stress of keeping things in check on my big day. Equip them with the right tools – the schedule, a checklist of things you want done, contact information for the florist, the cake maker, the priest, everyone. This takes time and planning on your end, but is so worth it. When it’s all said and done, recognize her with a gift or thank you note. They don’t get to relax and drink a glass of champagne like everyone else, so make sure she knows you appreciate it.
DIY weddings sound fun, cheap and easy, but it can be very tedious making 150-200 of whatever you are making. I made all our printables, décor, wedding invitations, programs, everything. I couldn’t have done it without all my friends and family, especially my mother-in-law, who pitched in to add the vintage lace ribbon to each and every ceremony program, sewed all the burlap runners, helped me paint frames (just to name a few). To my mom who baked all the extra goodies for the dessert table, and for everyone else who chipped in making burlap signs, baking mini cupcakes for each and every setting, printing and cutting name tags for the tables, the list goes on and on.
4. Make a plan and stick to it
Decide the theme of your wedding at the very beginning. Make a vision board with everything you like – are you going vintage, modern, super glam? Each decision you make, check to make sure you aren’t going in the wrong direction and that it maps back to your vision. There are a lot of cute looks out there, for example I like vintage, but I also like modern and glam. Things can get messy, so if you are DIY-ing things, you want to ensure it maps back to the same theme.
 5. Stay neutral and keep it classy
If you are DIY-ing your wedding, I recommend keeping colors neutral and the theme as timeless and traditional as you can. Big bold colors, super modern looks, sparkles, feathers, unique lighting – these are all things you see in big budget weddings. They look awesome if you have the money to do it right, but are hard to do it right on your own.
To keep it classy, do not give your bridesmaids full reign on choosing a dress. Many tell their girls a vague color like blue – with no specification on fabric or fit – and say buy what you want! You will wind up with five different dresses in different colors and fabrics that fit horribly. Dresses are so expensive, so see if your bridesmaids can pay half… or work the dresses into the budget early on. Go to a cute boutique and see if they can order multiples instead of doing $200 “bridesmaid” dresses. In the end, pick dresses that are forgiving and timeless and that will look good on everyone from the teeny-tiny to the big busted, your wedding photographer will thank you.
6. Make it personal, fun and unique – above all, make it about the person you’re about to marry.
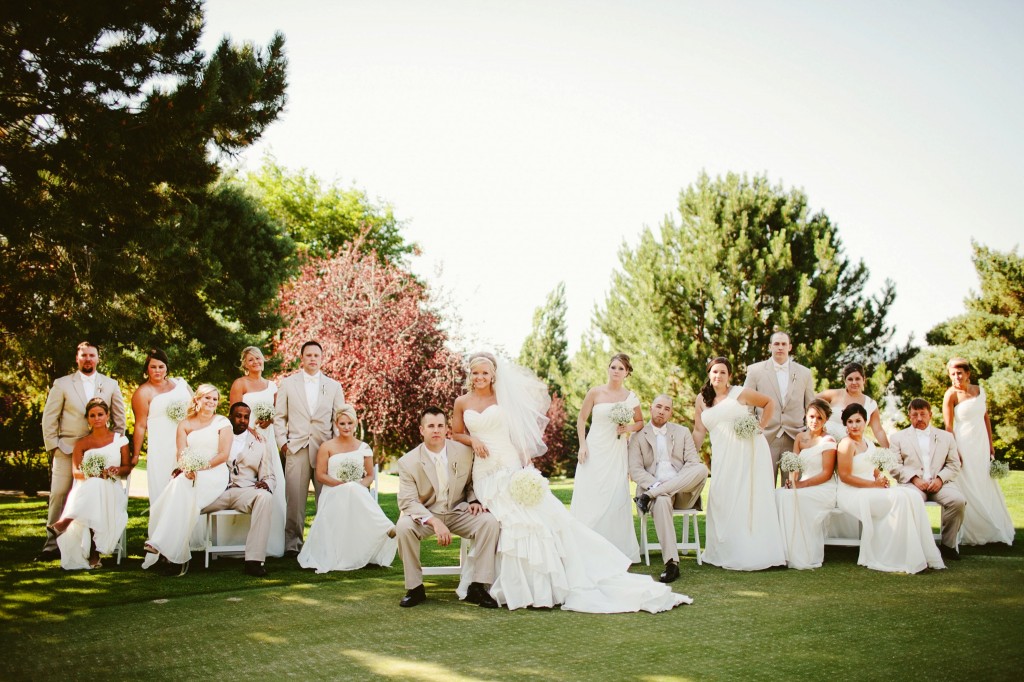
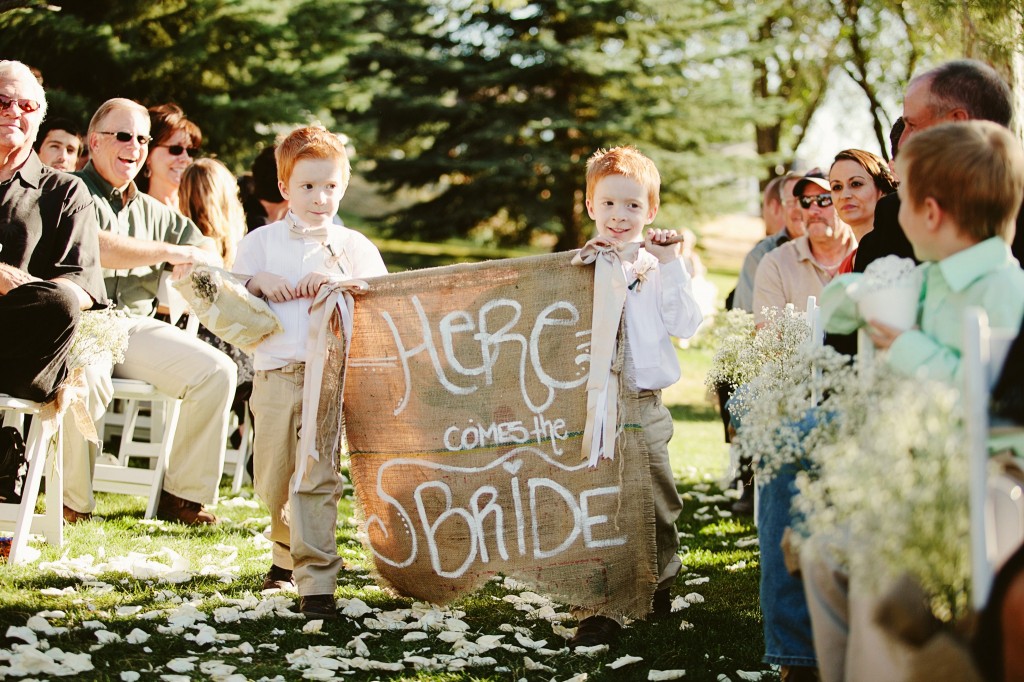
At every point you can, make it personal and unique to you and your husband. My husband loves golfing so we had our wedding at a golf course. At our ceremony we did a “unity putt” instead of unity sand. People loved it. We wrote our own vows too which made it so much more personal – I was told by some of our guests that it was the best ceremony they had been to!
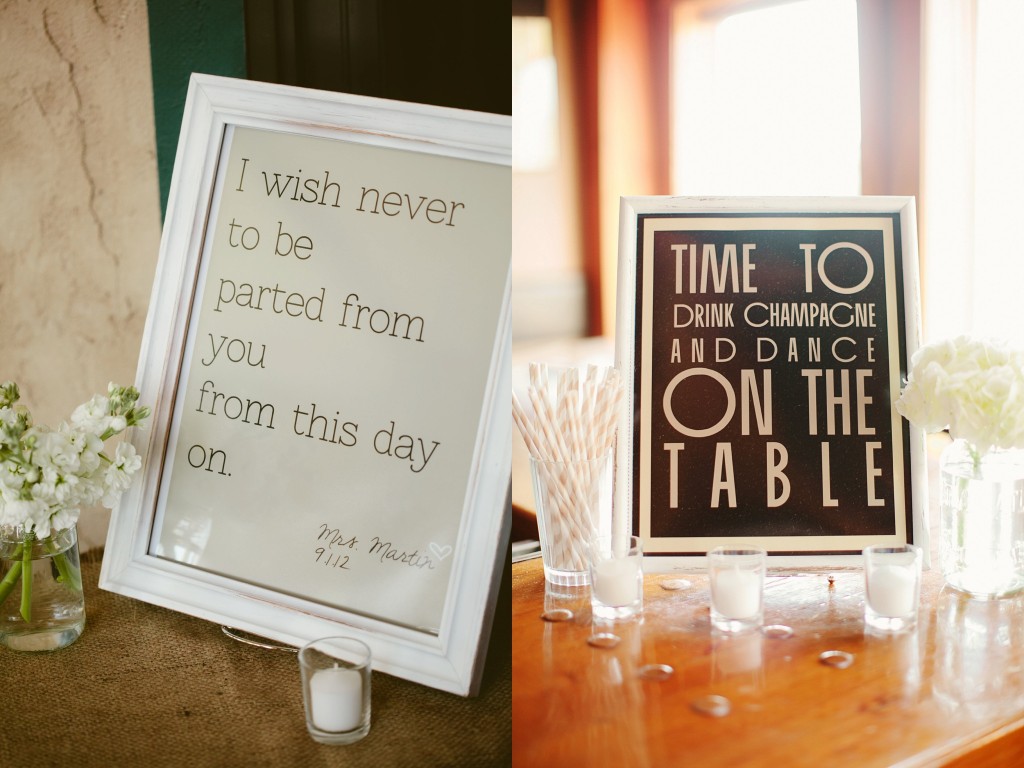
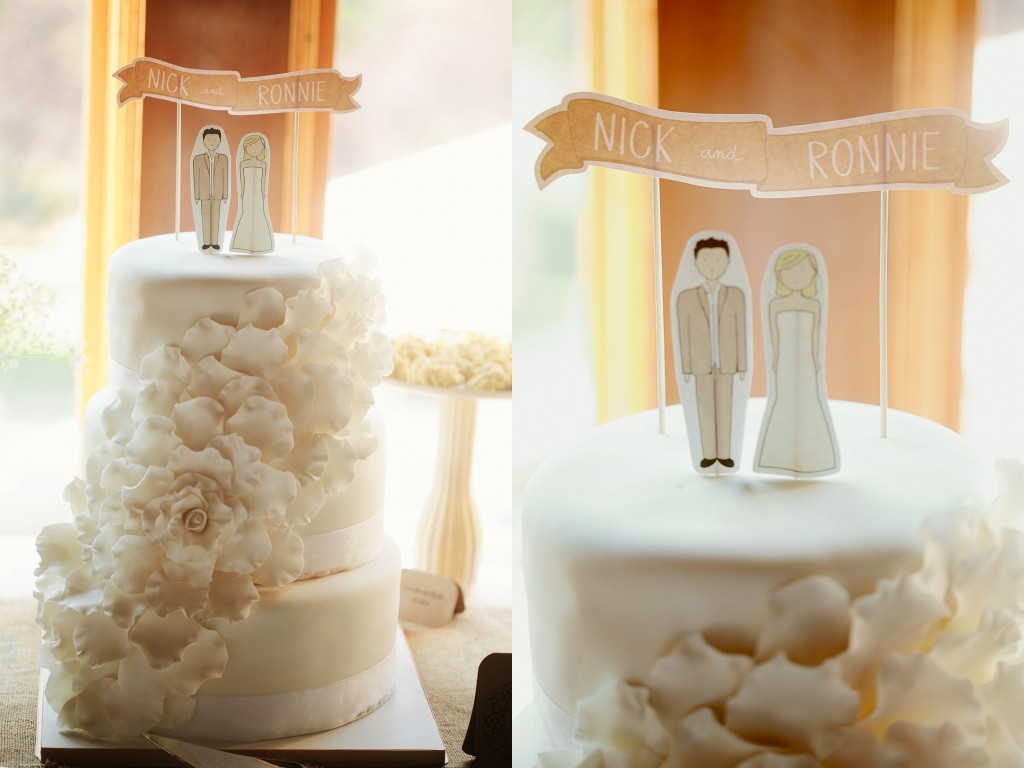
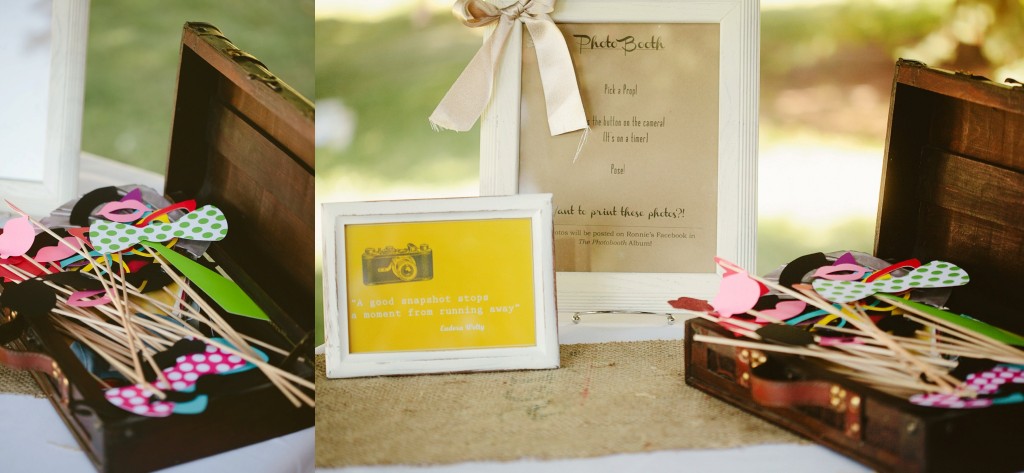
Our cake topper was a printable and it was made to look like us, I modified printables in Photoshop to say “Mrs. Martin,” we had pictures of us on the tables, we had a DIY photobooth, we carefully chose our songs, and didn’t just do what everyone else does. It was really personal and I feel like it made a big difference.
Planning your wedding is so much fun, but as we all know, it’s stressful. Remember how lucky you are to have those around you, for the financial help you’re receiving (big or small), and most of all, be thankful for finding the one you love more than anything. You are one lucky girl… keep this is mind every step of the way and you will have the wedding of your dreams.

 Contact Jackie | Join the Facebook Fanpage | Follow My Life on Instagram | Check out the Website