


The last part of the exposure triangle, ISO.
ISO – your cameras level of sensitivity to light.
In film ISO was the indication of how sensitive the film was to light. Measured in numbers on the film, 100, 200, 400, 800, etc. It’s the same principle in digital photography. It measures the sensitivity of the image sensor. The lower the ISO number the lower the sensitivity to light and finer the grain in the image. Higher ISO is usually used in darker scenarios where you need more sensitivity to light to get a faster shutter speed. And each camera has its own limit on ISO capabilities.
Setting your ISO at 100 is probably considered normal and will give you images with little to no grain 🙂 I’m usually bumping up my ISO when I’m being specific about the aperture I want, yet need a faster shutter speed more often. ISO is the last piece of the triangle that I’m going to change if it needs it.
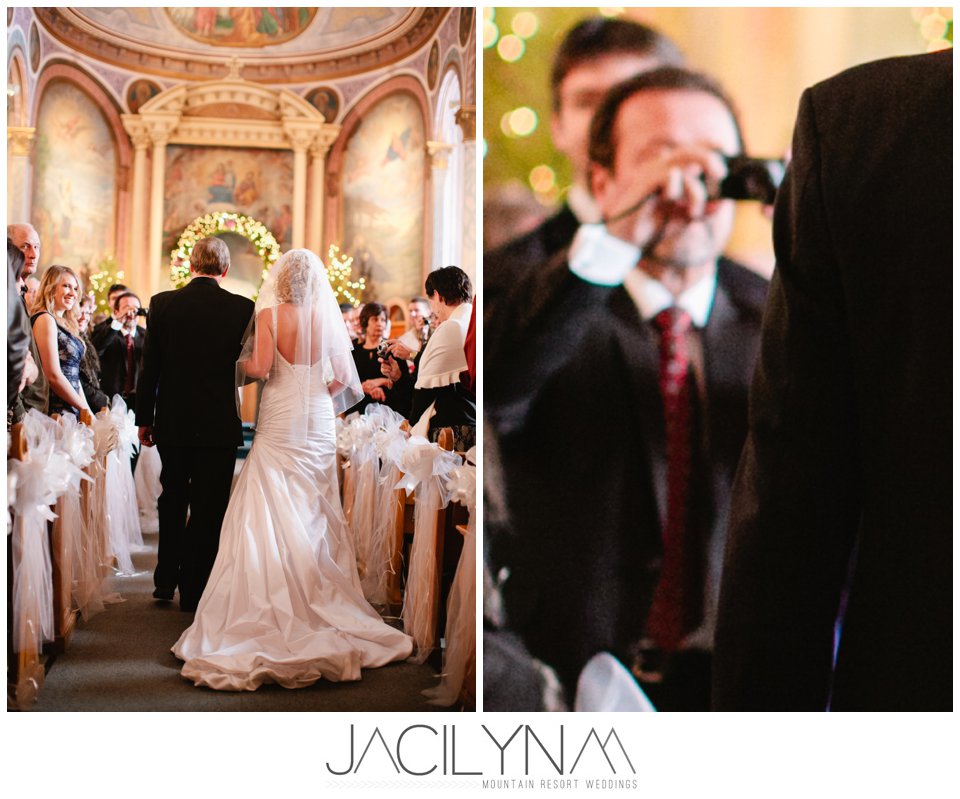
When I have a ceremony in a church I’m usually cranking up my ISO. Churches are kinda dark, sorry, but they are. Now my camera allows me quite a bit of wiggle room in the ISO department. The photo below was shot at 2500 ISO. Your camera may not be able to go that high. But there actually isn’t a lot of grain (also called noise) in this photo and often it’s most noticeable in the shadows. I zoomed in a bit and you can see a little noise there but it isn’t bad 🙂 I had my aperture at f/2.0 and my shutter speed was only 1/125 of a second. So not terribly fast but good enough with a 50mm lens to get a still shot without motion blur.

Now you know each piece we just have to put it all together and then talk a little about composition and technique and you are off to a great start to start making amazing images 🙂
What happened before this?
Step 1 – Get to Know Your Camera
Step 2 – Modes & Exposure Triangle
Contact Jackie | Join the Facebook Fanpage | Check out the Website
